


TIPS + TRICKS
TIPS + TRICKS
TIPS AND TRICKS
Organizing and laying out my classes is something that I put more effort in to than you probably knew. Not only do I want these courses to be fun and easy to dive into, but I want to make sure that they are set out in a way that is clear, concise, and easy to absorb. Most of the time that means organized articles, sections, etc. Those help me get across the larger ideas and topics but the truth is that with things like lighting, I have a bag of tips and tricks that don't fall into a larger category but are still hugely important to the way I shoot. That's what this section is for! Below you will find plenty of simple but helpful bits of insight into how I light things. Enjoy!
LOOK TO THE LIGHT
LOOK TO THE LIGHT
LOOK TO THE LIGHT
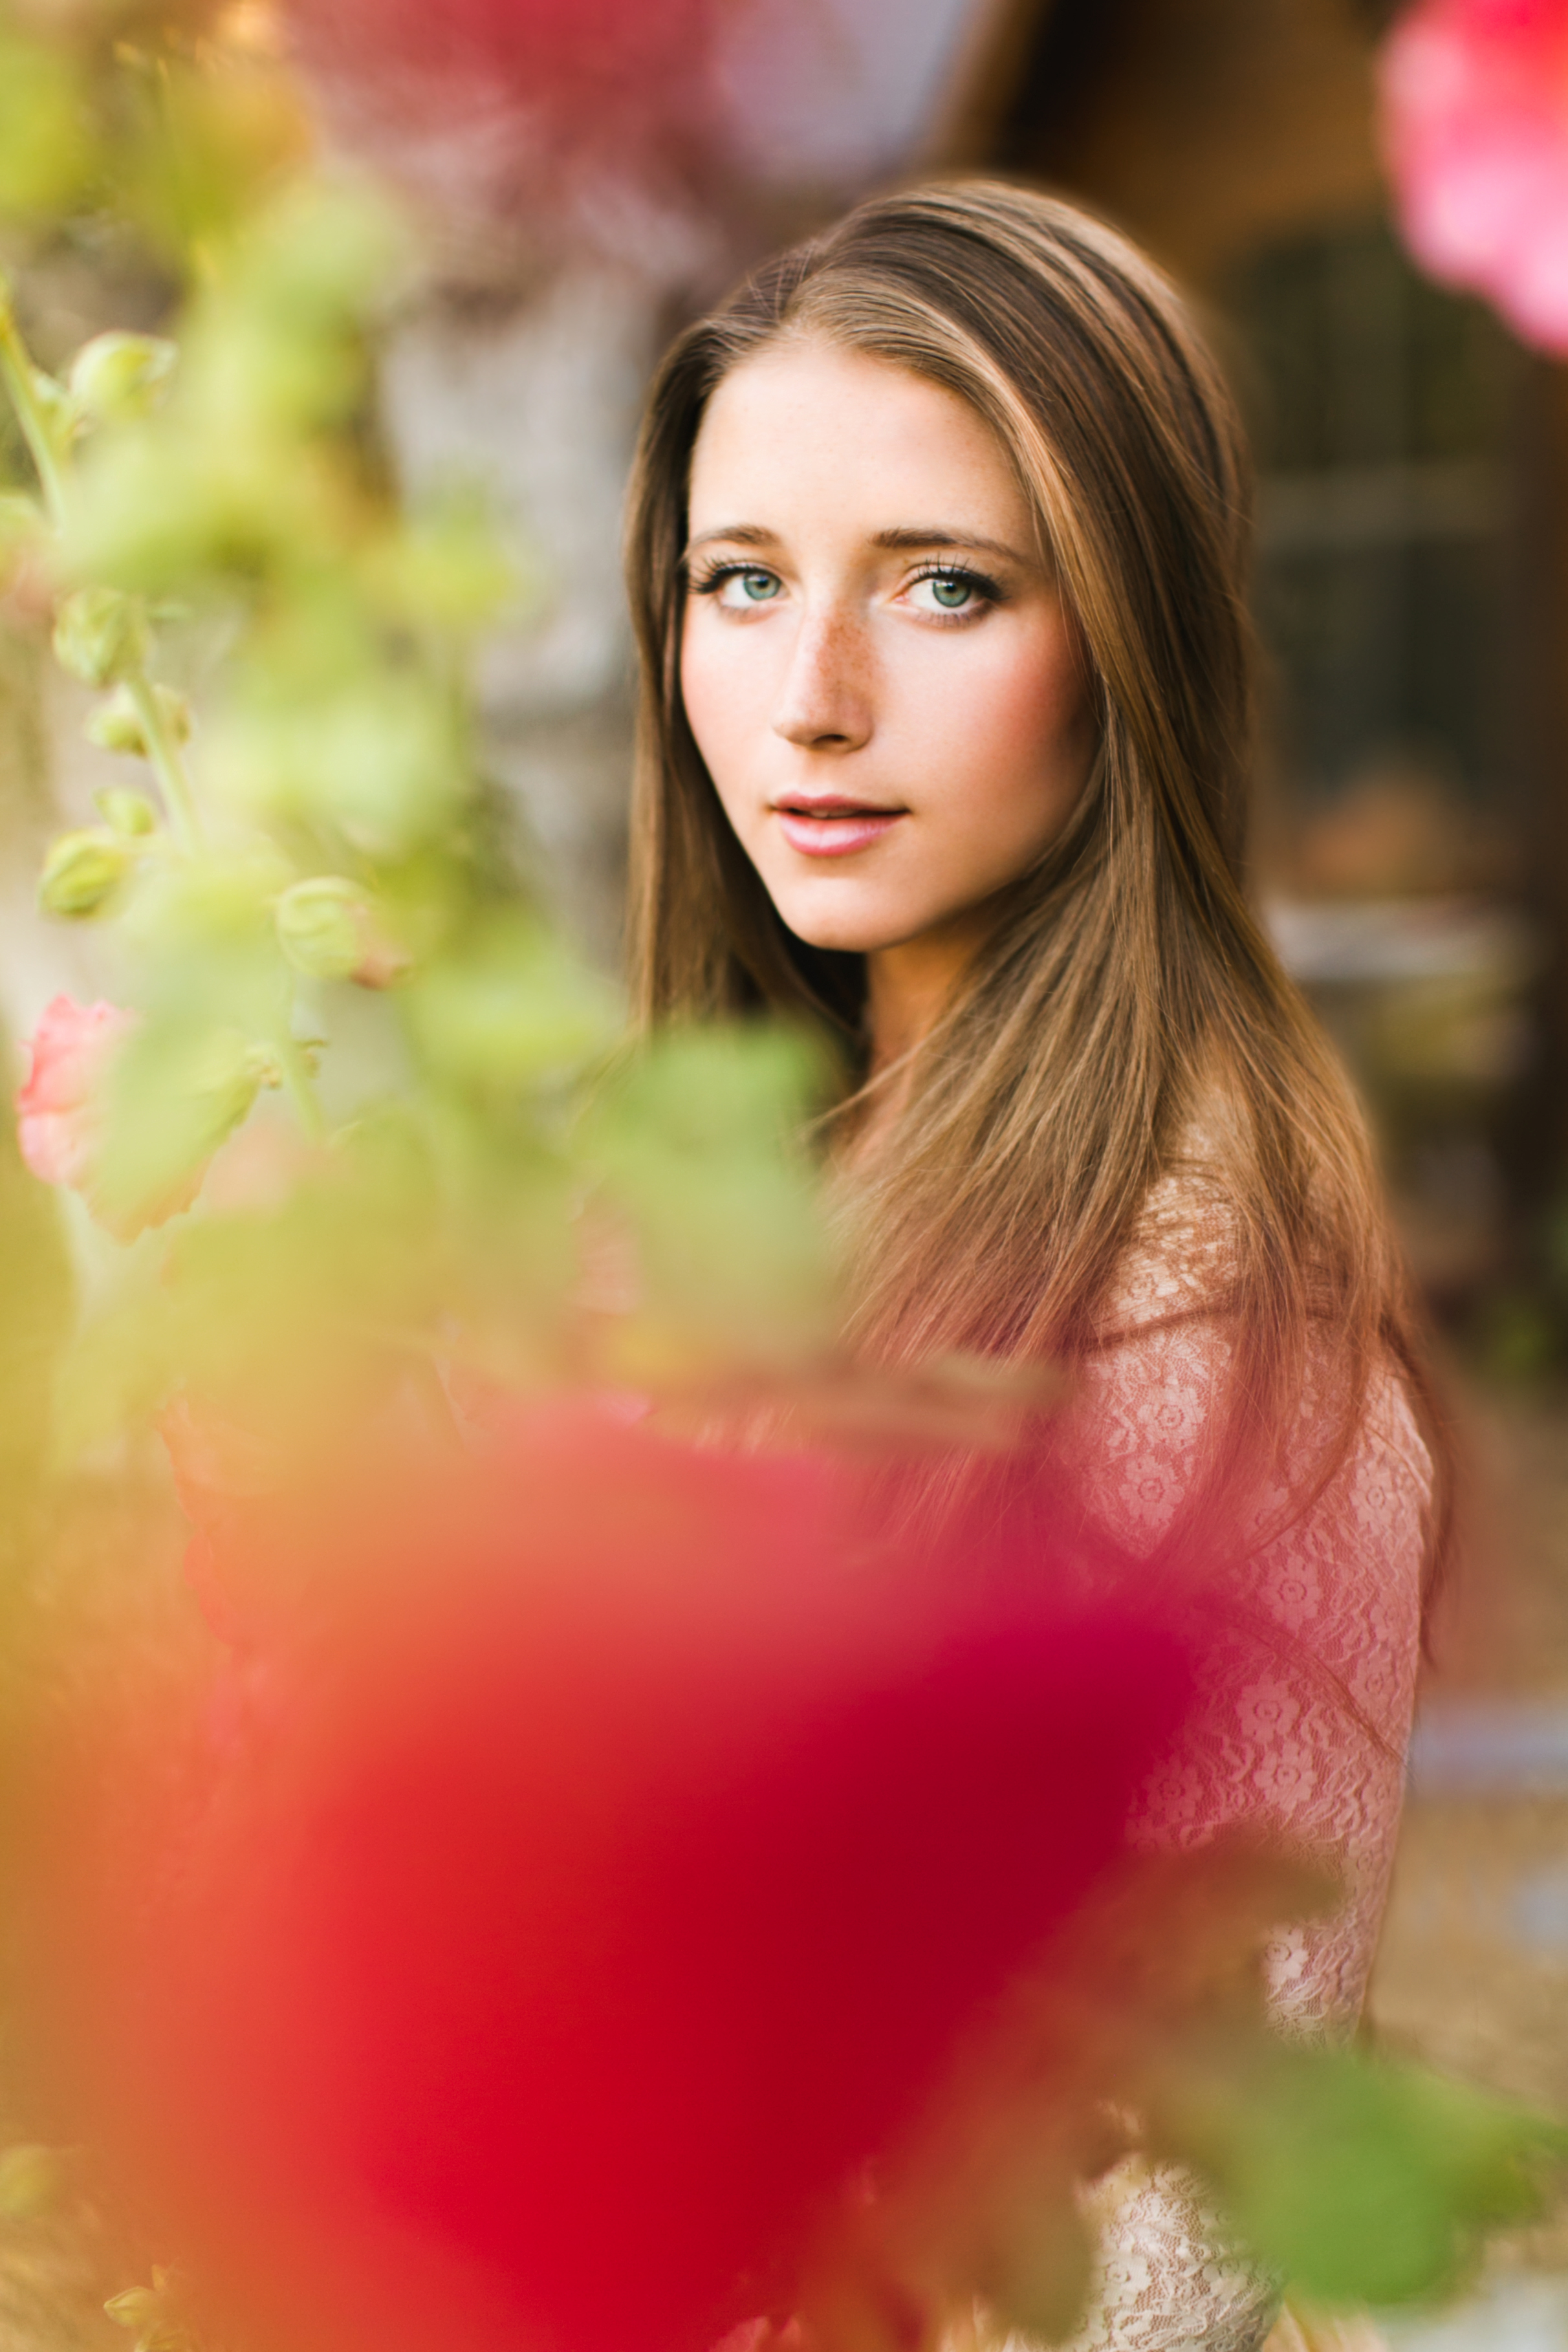
With directional light (whether indoors or out), it's always important to know where your light is actually coming from. Seems obvious, I know, but sometimes the obvious things need to be said and heard. Knowing where the light is coming from is the first step in using in it to your advantage. One of my favorite little directions for models is to find the light (meaning to aim their face towards it). With directional light that creates a bit of mood while still leaving a luminous, flattering light on your model's face.
5D III + 50L
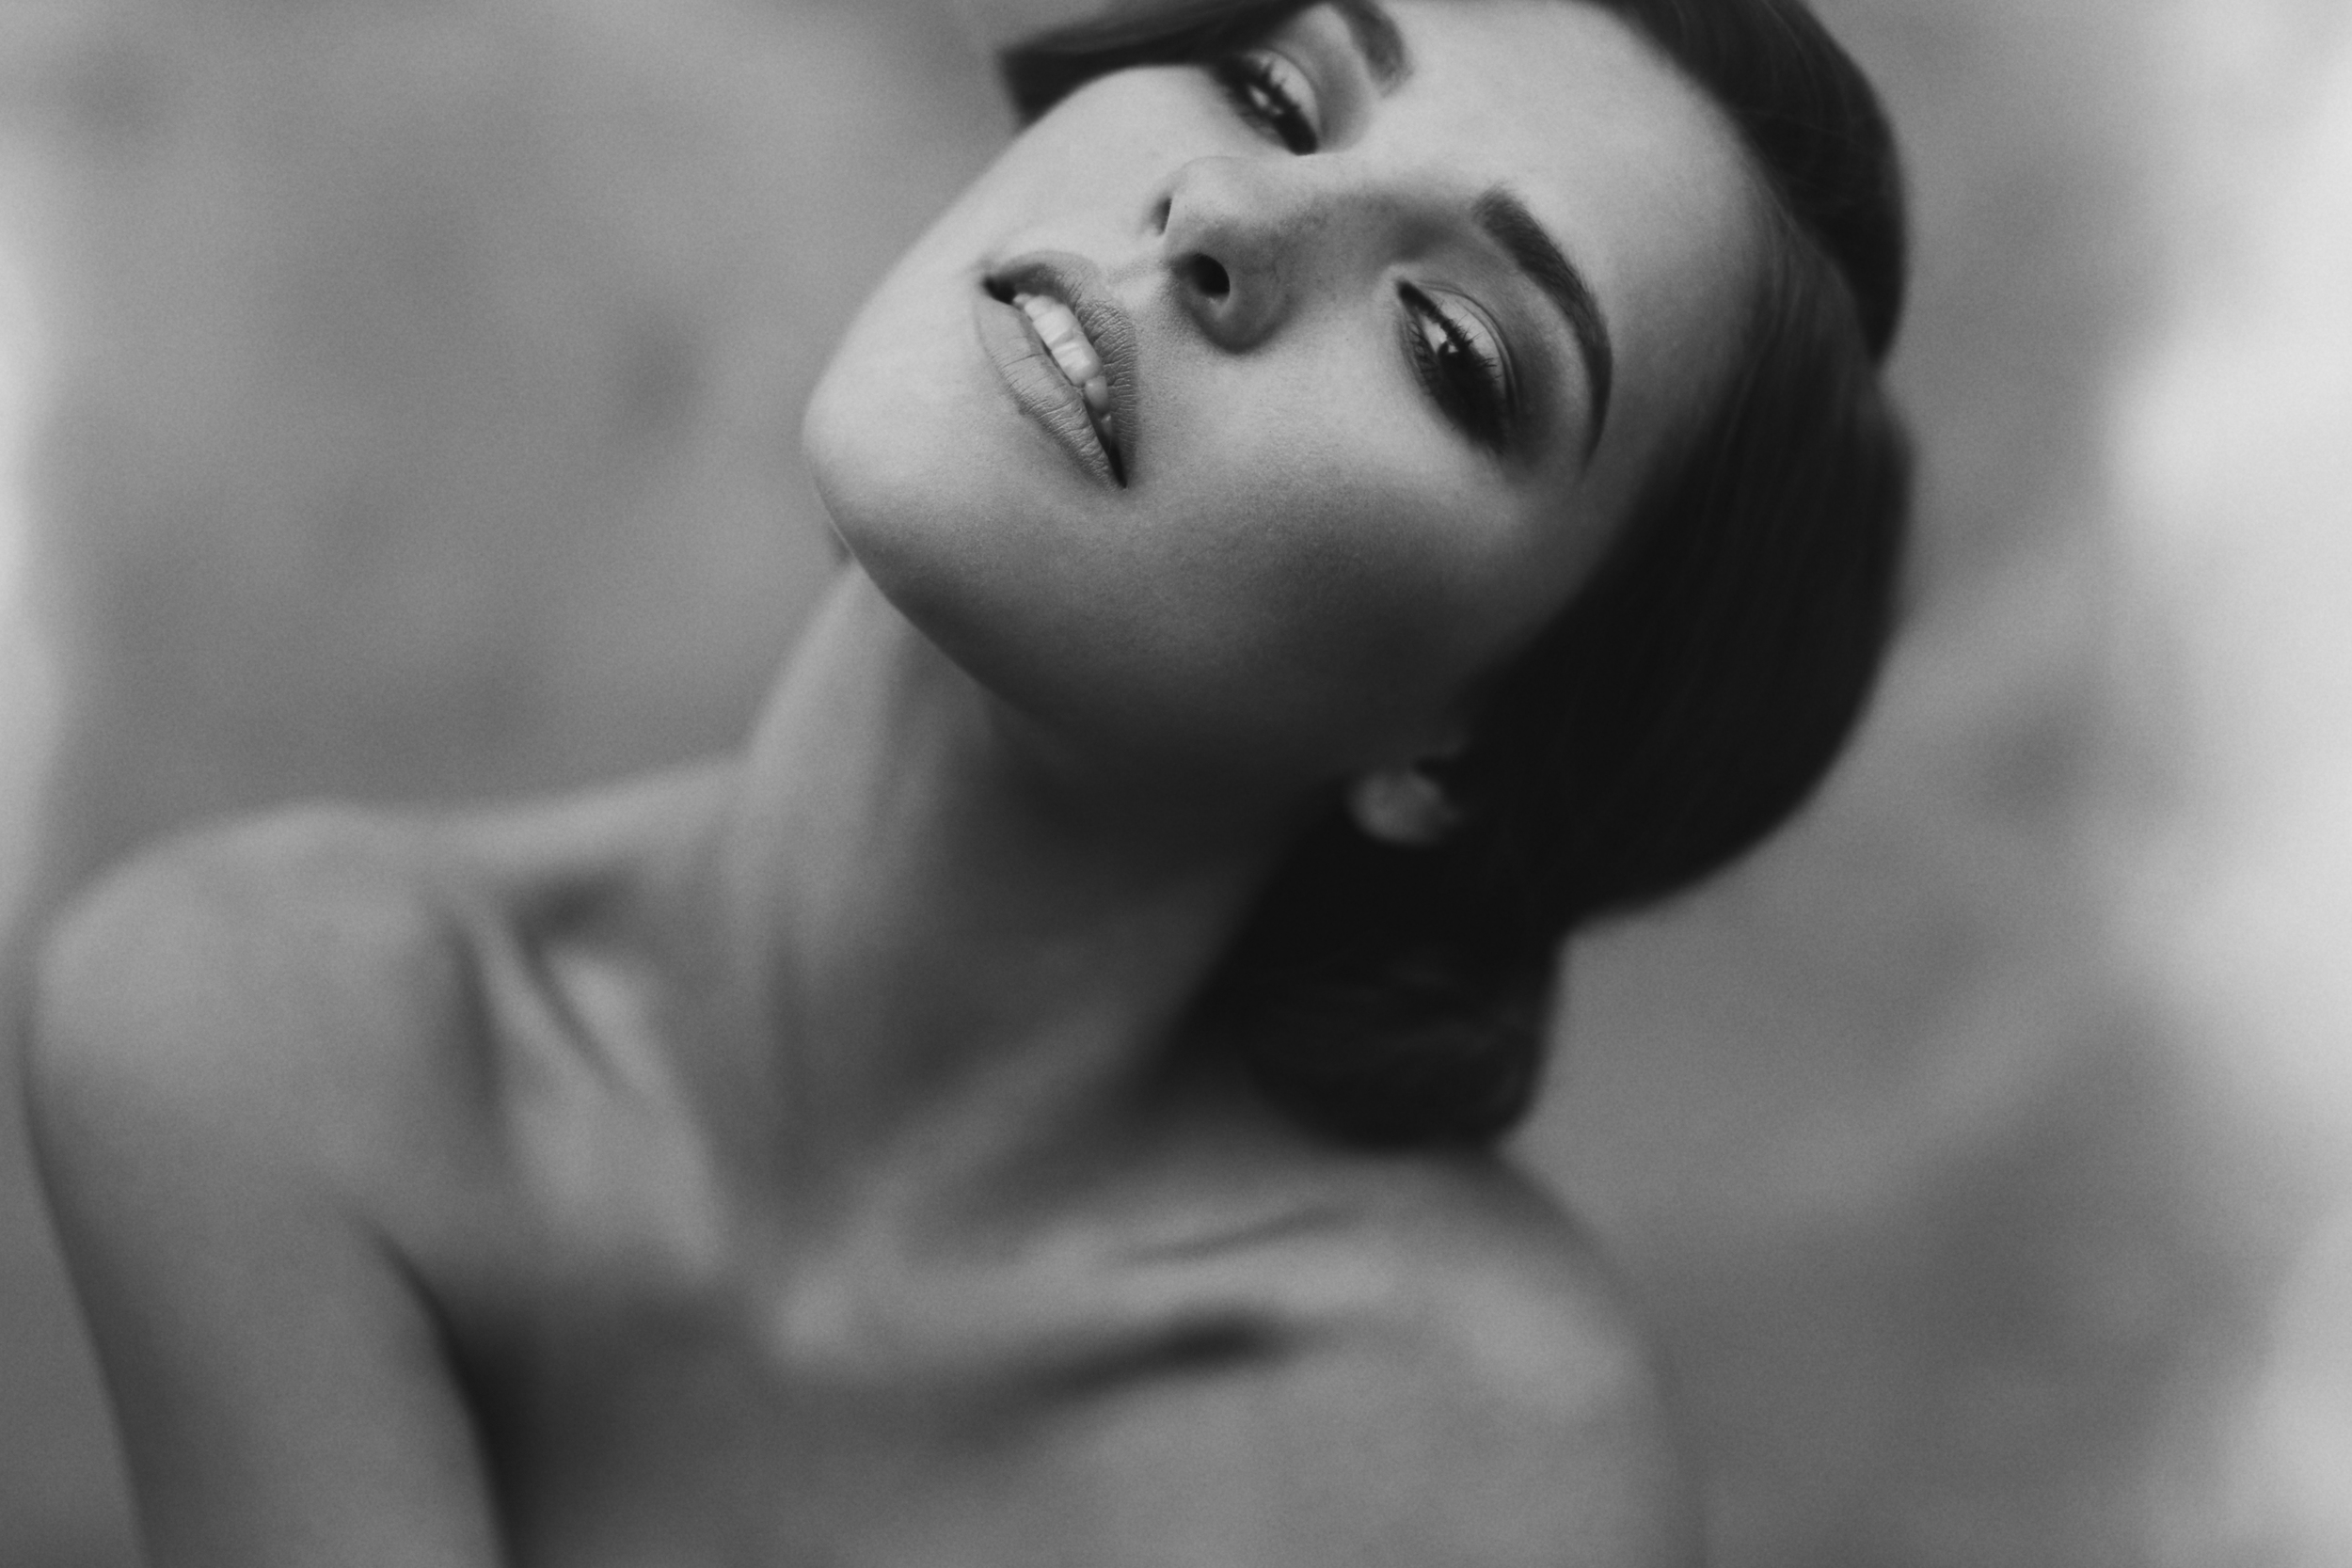
Ready for some secrets? This frame wasn't shot in a studio. It was actually shot in an alley with with a white wall in front of her, reflecting light in from above. Since the light was pretty directional from the top right (her right), I had her look up towards it so she had light in both of her eyes. That left soft light on her face, and defined her bone structure a bit more.
5D III + 50L
This was frame was all about playing for me. We are artists and get to create whatever the heck we want to I set up a day in the studio to experiment for the sake of having fun. In this image, I was shooting through plastic sheeting which was hung in between us. The light was coming in from a window on her right so I had her look in between the window and my lens. That gave a more dramatic side light while still lighting up the blue in her irises. Win-win!
FILM GRIT
FILM GRIT
FILM GRIT
I know some of you really dig that gritty film look. If you shoot digital too, try shooting a few stops under exposed and then bringing it back up in post. If you shoot underexposed, when you bring it back up in post, it can add a gorgeous texture into your image. Try experimenting with how much you underexpose because it will change how the grit looks when you bring it back up. Also, if you use a higher ISO (2,000+ on the 5D III and 6,400+ on the 5D IV), the grit will start looking more and more rough and possibly more digital if you bring it up to far. In short, test it. Every camera will react differently, every type of light, etc. If you're into it, test and play! If you're not, why are you still reading this ya dingus?

5D IV +50L
Here's a Before & After so you can see about how much I underexpose for shots like this. Every situation is different, but this is pretty typical when I'm after a gritty shot!


CREATNG BLURS AND LIGHT
CREATNG BLURS AND LIGHT
CREATING BLURS AND LIGHT
It's so rad that we have a career that let's us play and experiment for a living! In my gear bag I have a few pieces of broken glass and plastic that I use to shoot through any time I need to hide something distracting in the frame or create a soft, dreamy mood. Holding the piece right up to the lens hood and peaking into the image creates a soft translucent blur that comes across the frame. The shallower depth of field you shoot, the longer the lens, and the closer you hold the piece to your glass, the softer the effect becomes. It's a look I really dig and it's one of the easiest little tricks up my sleeve.
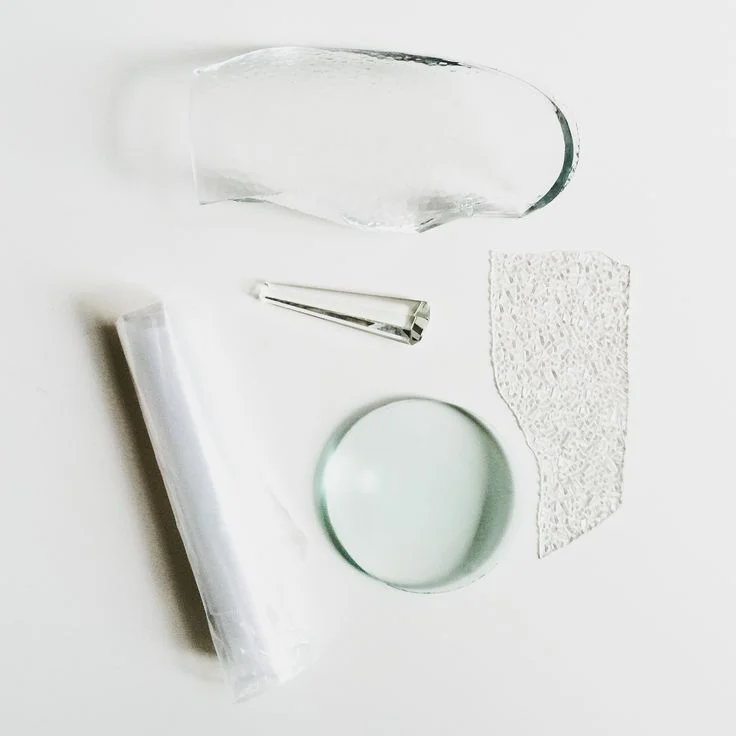
Here they are. My little pieces of magic. They each give me different effects and I'm always finding ways to use them differently. Broken cups, ziploc bags, a piece of a florescent light cover, etc. Each has it's use and instead of explaining each one, I'd rather you find some pieces to experiment so you can learn it hands on!

Contax 645 + 80 + Kodak Portra 400
This is one of my favorite frames from my shoot with Laura on the Malibu Coast. I typically hold my little piece of plastic or glass in the shade (making sure that no hard light is hitting it) which gives me a nice soft blur but since I was shooting film and I knew that film holds color better in the highlights than digital does, I held my glass piece right in the sun and it brought in that rad orange blur coming in on the right side of the frame.
5D III + 50L
No glass, no problem. I've shot through leaves, flowers, pieces of paper, plastic cups, etc. Sometimes it's easier to use what's around you instead of carrying glass around in your fanny pack (no, I don't use a fanny pack).

5D III + 50L
I actually discovered this trick (I didn’t invent it, people have been doing it for ages) a while back when I was shooting near a tree and a branch fell in front of my lens. I loved it but wanted to find a way to add blur and light but not color. Translucent plastic and glass was my answer!

5D III + 35L
In the left of this frame there was a decent amount of clutter (all cool wooden clutter, but still clutter) which is why I held the glass piece over that side of the lens to help blur it out and to create a softer, dreamy feel in the image. During this shoot I also used these little pieces to blur out certain parts of her body so the images were less revealing and more about the mood.


DIRT
DIRT
DIRT
Does anyone else ever get the urge to just do something weird in the moment? You're on set thinking, "I wonder if that would work." I get that all the time and sometimes it works, sometimes it doesn't. The awesome thing is that I always learn from it so I always run with those intrusive little ideas. During a fall wedding in California, I was shooting portraits around 2pm (found the shade and had them facing out of the shade) and had one of those little ideas pop into my head! What if I threw dirt at my lens? What if I made sure the light was hitting the dirt? Would it create something funky?

5D III + 50L
For this shot I had placed them in the shade facing out (see the "Cave Light" tip) and I was standing outside of the shade in the sun. I picked up a handful of dirt and threw it up and at my lens, making sure the sun hit it. The sun on the dirt turned into those gorgeous light hits that you see sparkled all over the frame turning something intimate into something intimate and festive. Yay, experiments!
SLOW SHUTTER
SLOW SHUTTER
SLOW SHUTTER
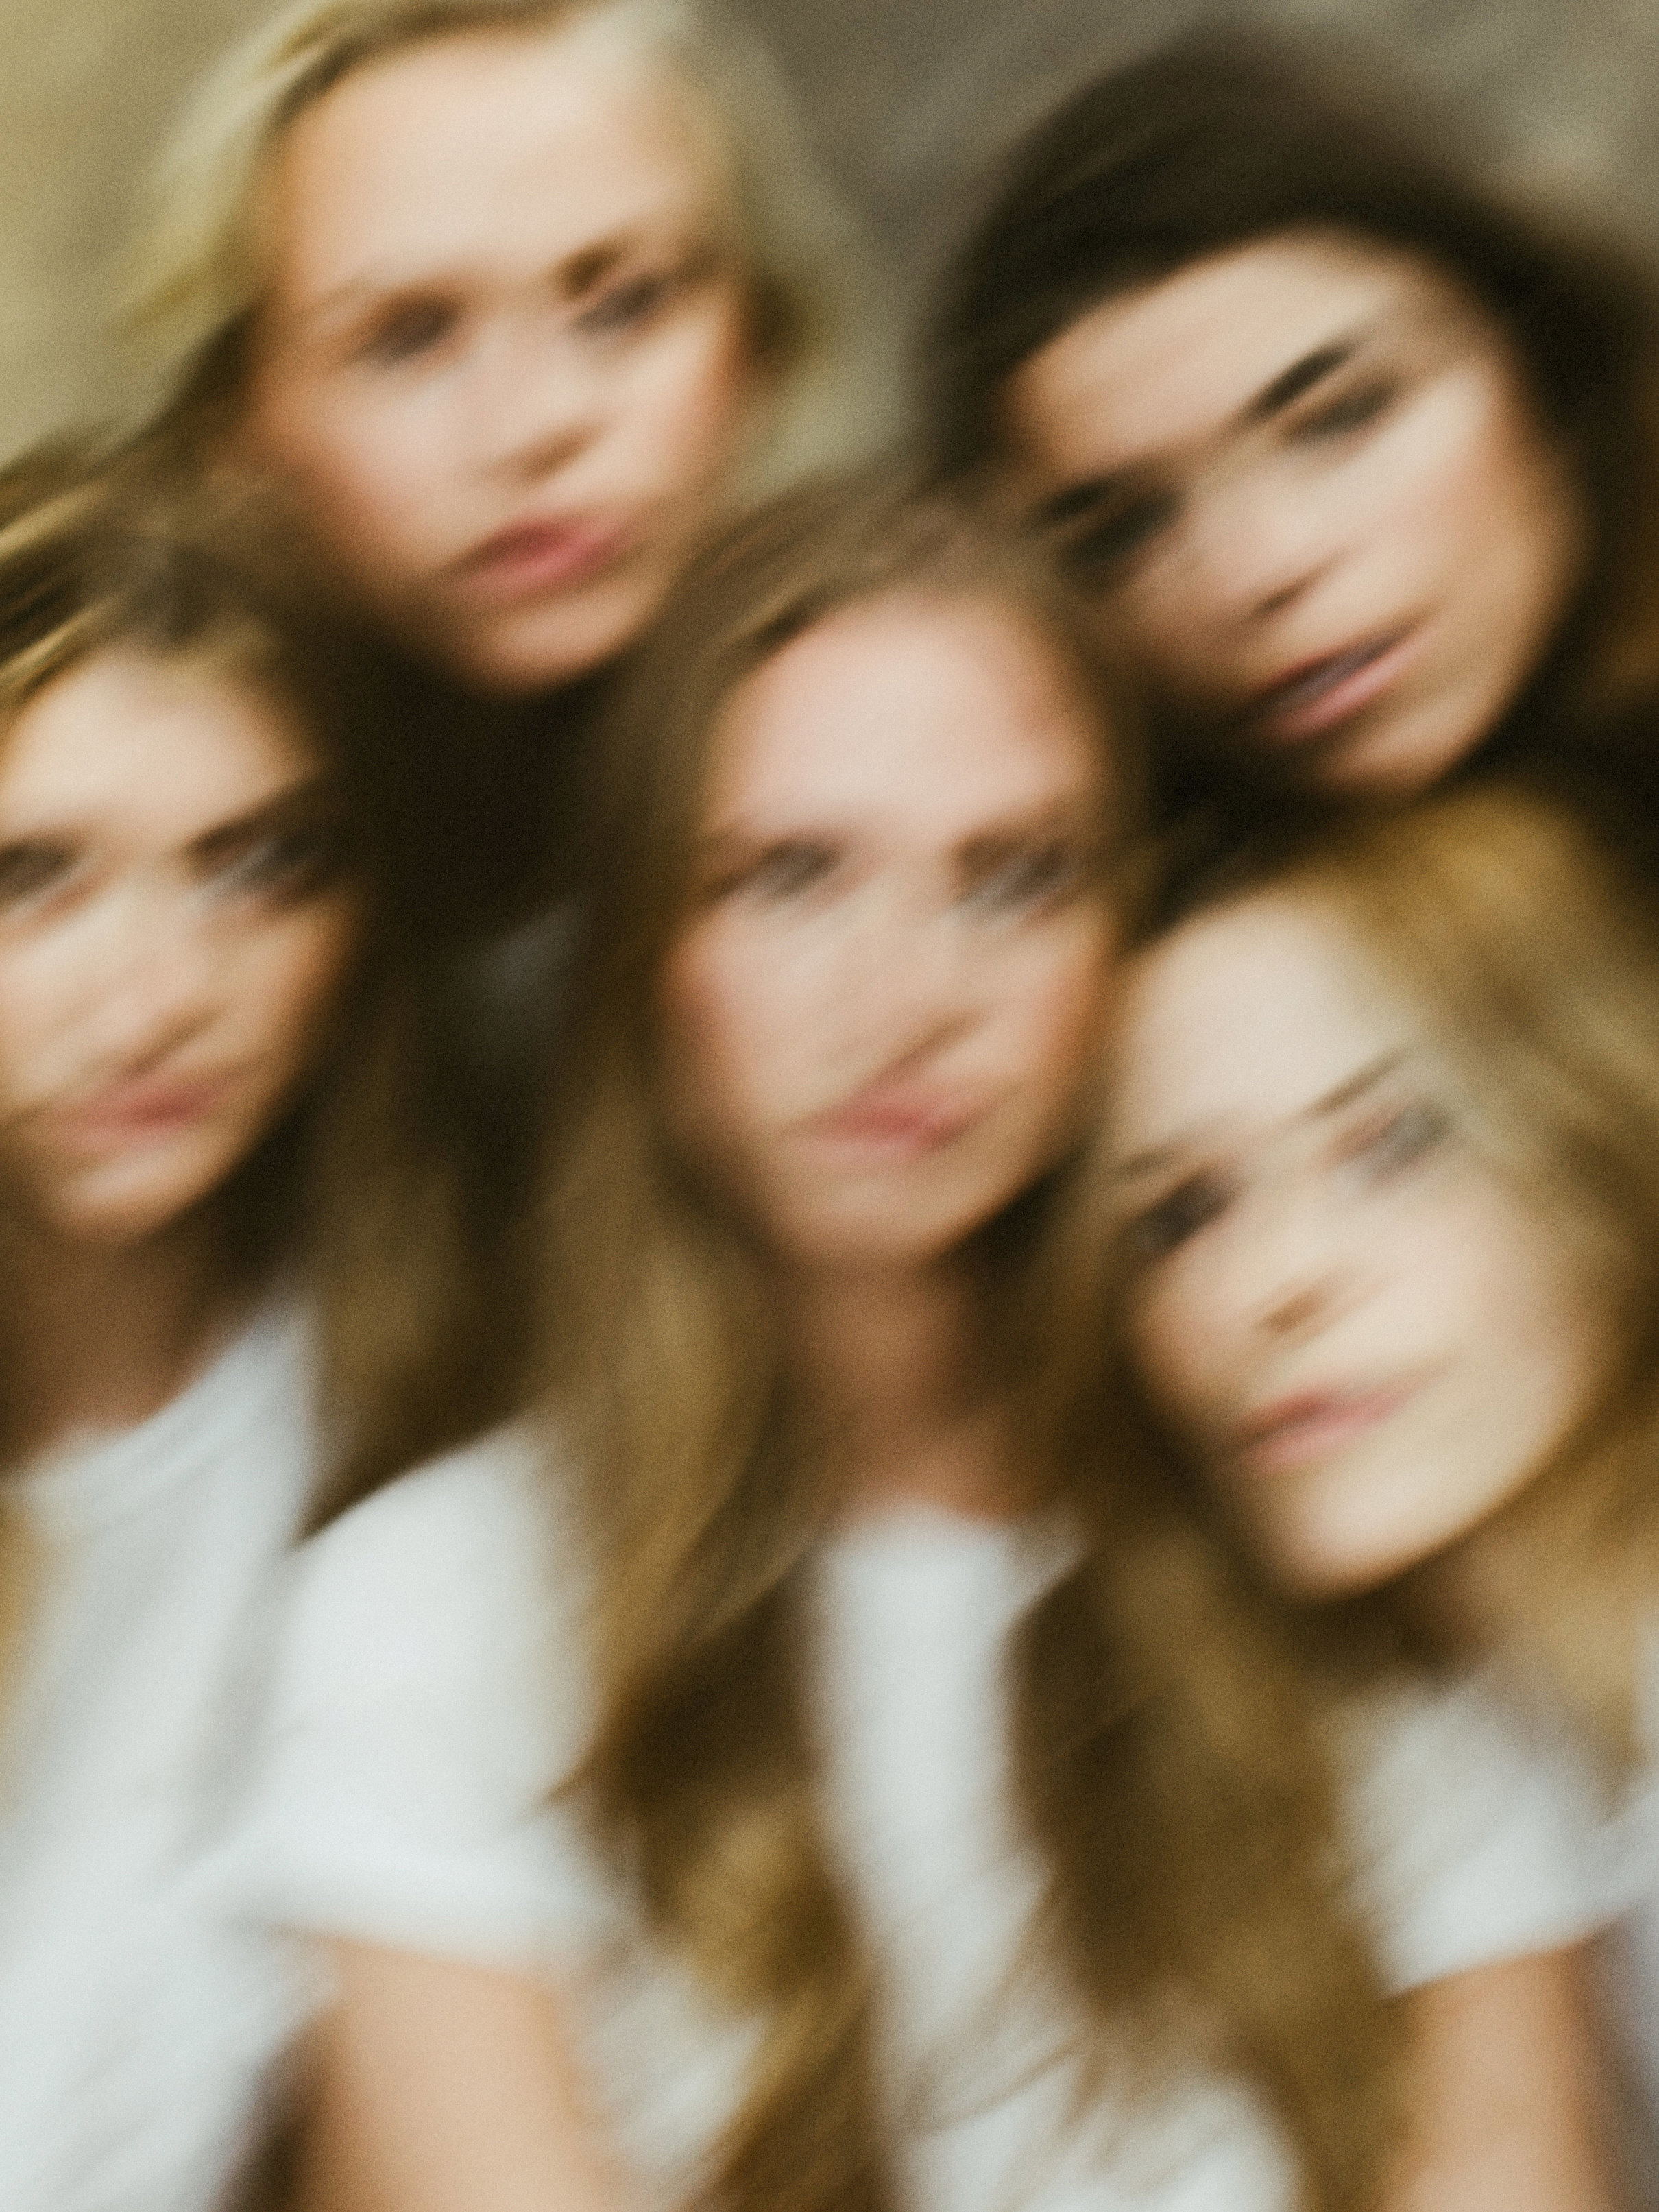
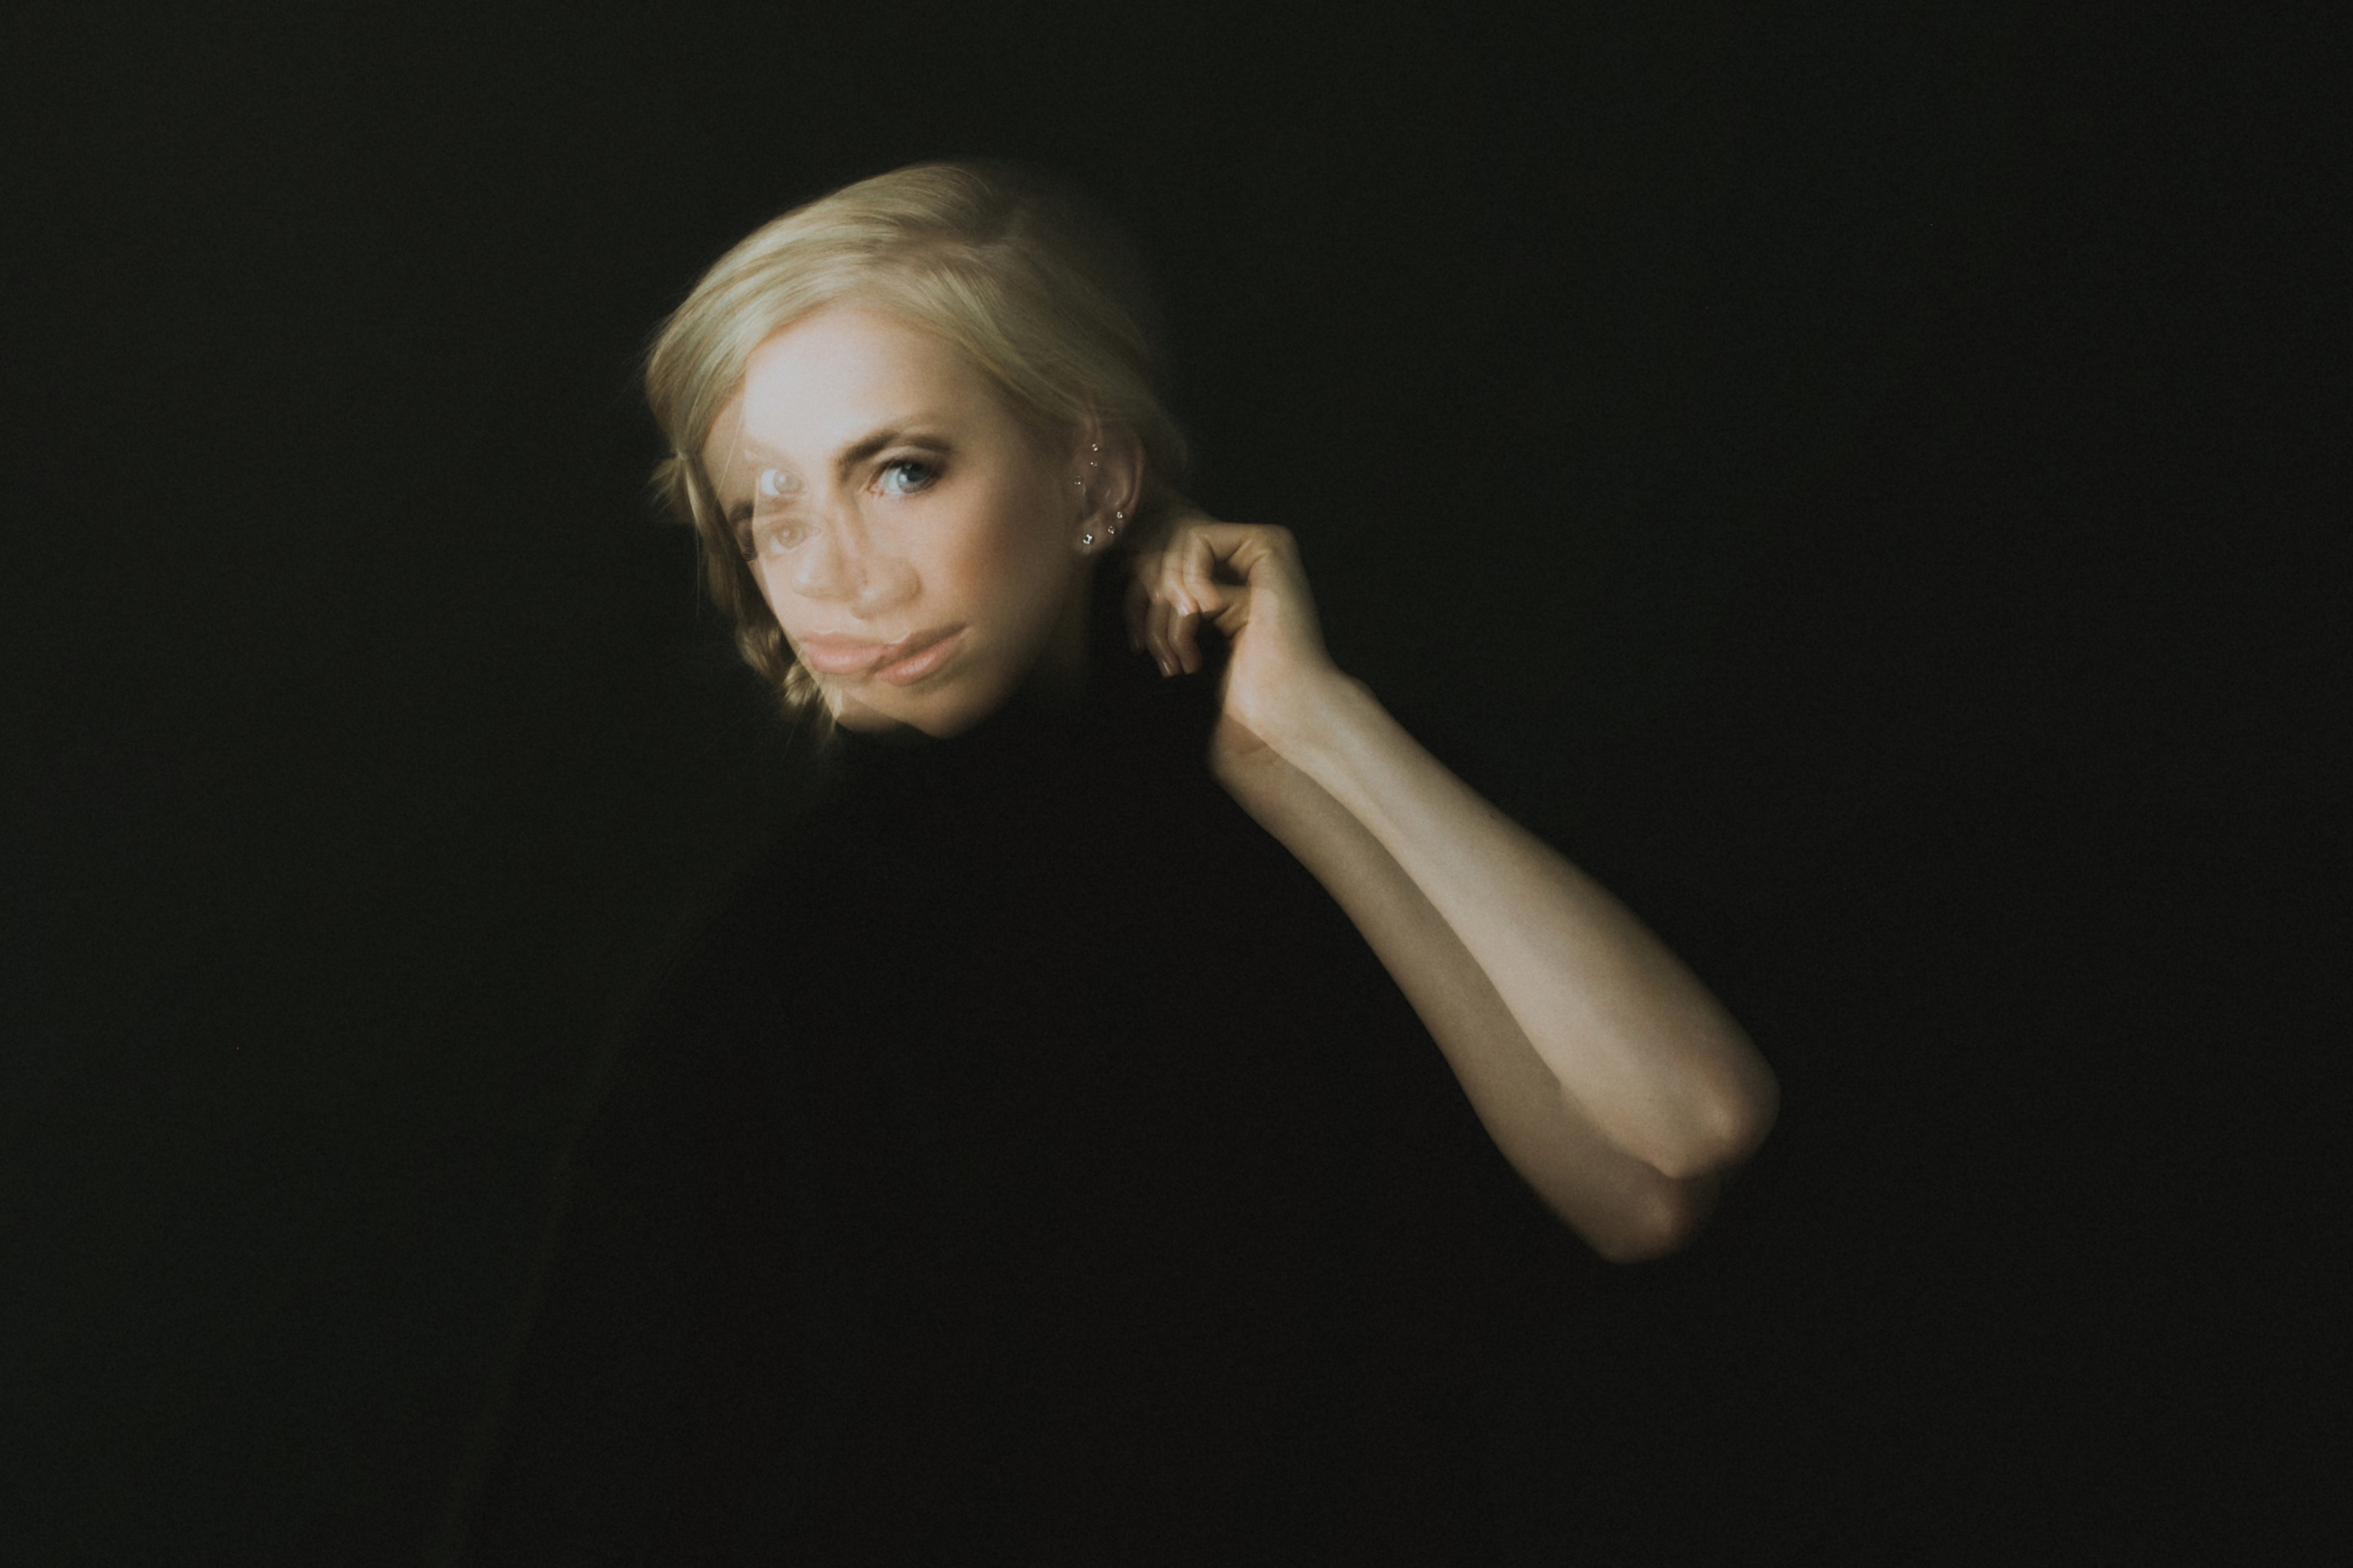
YAS. As I'm writing this, I'm going through a phase where I'm shooting almost everything blurry (a little bit of an exaggeration, but I'm pretty freaking obsessed with slow shutters right now). I love the life and imperfection that shooting at a slower shutter speed can add into the frame. It can make an energetic moment seem more energetic, it can make a quite moment seem more whimsical, and it can make a happy frame look giddy. It's a pretty universal mood-adder. Aside from all of that, I'm a big believer that perfection isn't everything. Inf act, it's not really worth much. A perfectly exposed image isn't really worth shit if it doesn't have any soul. Shooting with a slow shutter speed is one my my little internal nods to that idea.
SHUTTER SPEED
Okay, so... what's considered a slow shutter? One of life's most meaningful questions. I typically shoot this type of work between 1/50th and 1/13th depending on how much blur I'm looking for. This is completely personal though so make sure you test out different speeds to see what works best for you
WHAT'S BLURRY, WHAT'S SHARP?
This is up to you. Shooting at a slow shutter can mean that the entire image is blurred or that everything is crisp with just one little bit of blur in a dress or in the hair. If you want the entire image blurry, easy. Shoot hand held and don't be afraid to move the camera as you're clicking the shutter. If you're only after a tiny section of blur, you can either shoot hand held or with a tripod (I never use a tripod) and try to keep everything still in the frame aside from that one thing you want to see blur in. Use a fan to blow the hair around, ask your bride to twirl in her dress, etc.
EXPOSURE
Keep in mind, shooting with a slow shutter doesn't mean that you're shooting a brighter exposed image. You still want to expose properly so make sure you bring down the ISO or use a smaller aperture if needed.


DRAGGING THE SHUTTER
DRAGGING THE SHUTTER
DRAGGING THE SHUTTER
This is where things get funky. Weird light things are among my favorite things to capture because they are always completely unique. Technically, a lot of the little tricks that I use create imperfections (lens flare, blurs, etc) but those imperfections create the human element that I love. For those of you who don’t know what a “dragged shutter” is, it’s when your flash goes off, and then you leave the shutter open for a bit to create a bit of weird light blurs. Essentially, it is a long exposure with the flash going off at the beginning or end. When the flash goes off, it freezes the motion of the subject, after that, the shutter states open for a second or so which captures plenty of stray light and leaves you with painted color washes over your images. It works great for dance floor shots and anything that you want to get weird with!


5D II + 35L
My typical settings for a dragged shutter look are: f/9, 1 sec shutter, 320 ISO. Once I fire the shot and the flash freezes the subject, I move around the lens so the extra blurred lights move around the frame and/or cover part of the lens with open fingers so the light is only painted on certain areas. With these frames, I left the shutter open for about 3 seconds and used a flashlight (softened with a piece of paper over the top) to paint on my hand which was close to the camera. When I painted the light onto my hand, it left a soft orange glow and tons of weirdness.
EXPOSURE
EXPOSURE
EXPOSURE
Whether the type of light or the exposure is more important would be a pretty hard argument to win no matter which side you were on. Plus, why argue? Let's just learn it all and learn it well. How you expose your images can have a massive impact on how they turn out and how much you can alter them in post without losing quality.
DIGITAL
When shooting digital, I always spot meter for the brightest skin on their face (usually the cheeks) and underexpose just a tad. The reason I do this is because if you accidentally over expose something with digital (also known as "blowing it out"), the detail in that over exposed area will be gone forever. So sad. Don't let that happen to you. If you over expose skin, that means that normal human skin texture won't be able to be recovered in post. On the other side of the spectrum, you are able to bring back shadows a pretty surprising amount so you don't have to worry about that too much!
FILM
Film reacts pretty differently to over exposure. Instead of losing overexposed detail, film actually retains it pretty well (even when over exposing by 2 stops). When I shoot film I'll err on the side of over exposure instead. That also tends to give it a softer, more muted look. Unlike digital, film tends to lose the details in the shadows more easily.
LONG EXPOSURE
LONG EXPOSURE
LONG EXPOSURES
Long exposures and dragged shutters (also in this section) are the same with one small change, in these the camera is static (on a tripod). In these shots I leave the camera on a tripod, the shutter open for a second, and the strobe going off at the beginning of the exposure. When the strobe goes off, that flash will freeze your subject. If you have a bit of dim ambient light in the room, that will leave those unpredictable glows and light trails since the shutter is still open for a second! To enhance those trails, have your model move from side to side as the shutter is open! The power that you set your strobe or flash on (yes, you can do this with just a flash) will depend on how much ambient light is in the room and how strong you want the strobe/ambient balance to be.

5D III + 50L
To light these shots I had an Octobank softbox to her right and a reflector to her right. That left me with directional light without a rough, harsh look. I also had a bit of ambient light in the room so while the shutter was open after the strobe popped, the ambient light created a glowing trail when she moved!
HAZE
HAZE
HAZE
We’ve all seen that gorgeous streak of light that just wakes up our excitement for all things beautiful. Maybe you’ve seen it on a foggy path in the woods, or maybe a streak of golden window light in an old dusty room. Those little glittering particles of whatever floating in the air create something magic and it’s something I’ve always loved. Now is the fun part. That type of light is everywhere but luckily, there usually aren’t enough dust particles in the air to show it to us. To bring it out a bit more and to show off the gorgeous light in your image, there are a few easy things you can do! Bring some baby powder, fuller’s earth, spray fog, or even just some dusty dirt to sprinkle in the light. The particles in the air will define the ray of light and add a killer mood to your image!

5D III + 35L
To make the most of that gorgeous back light coming in the window behind her, I had a ziploc bag full of baby powder that I cut a hole in the corner of and I puffed out into the light before each shot!

5D III + 24L
Spray fog! This stuff is the best. The real trick with making it (and baby powder, etc) is to put it in a steak of light that's in between you and a dark background. In the image above, there is fog all over the background but where it really pops is in front of the darker background. When the light hits it, it glows, but it won't pop if that glowing light is in front of something just as bright.
SEPERATION
SEPERATION
SEPARATION
One of my favorite things in a killer portrait is a separation between the subject and the background that draws your eyes right where they should be. Creating a difference between your subject and the rest of the image is what makes them really pop and take center stage. This might mean that the subject is bright and the background is dark (or vice versa), or there is a difference in contrast, color, focus, or anything else. Aside from the killer mood that it brings, this is actually one of the major reasons that I love shooting in fog! With your subject close to the camera and the fog in between them and the background, everything in the frame except for them becomes muted and faded, giving your subject all of the pop. Win!
Contax 645 + 80 + Kodak Portra 400
Shooting in fog is my dream (well, one of them at least). Muted tones, soft light, and that gorgeous separation that makes your subject pop out of the frame. Not bad for some wet air.
5D III + 35L
Separation is exactly why your eyes tend to be drawn to little pops of color (or anything they're drawn to for that matter). In this shot, the warm tones in their outfits create a separation from the muted cool tones in the landscape which draws your eyes exactly where they should be.
5D III + 35L
The separation that makes them pop comes from the simple fact that they aren't a blue sky. This is the most stripped down example I have of that separation I'm talking bout. All of the frame is "this," but they are "that."
5D III + 50L
This frame was shot while we were camping on the South coast of Iceland. With moss covered cliffs, I knew I could use it almost as a solid backdrop for them to pop out of. Even though the background seems pretty clean and simple, there was still plenty of darker stone popping through. The help them stand out more, I made sure that their body shapes were place in front of the solid green patch with no dark shapes intersection them in the background.

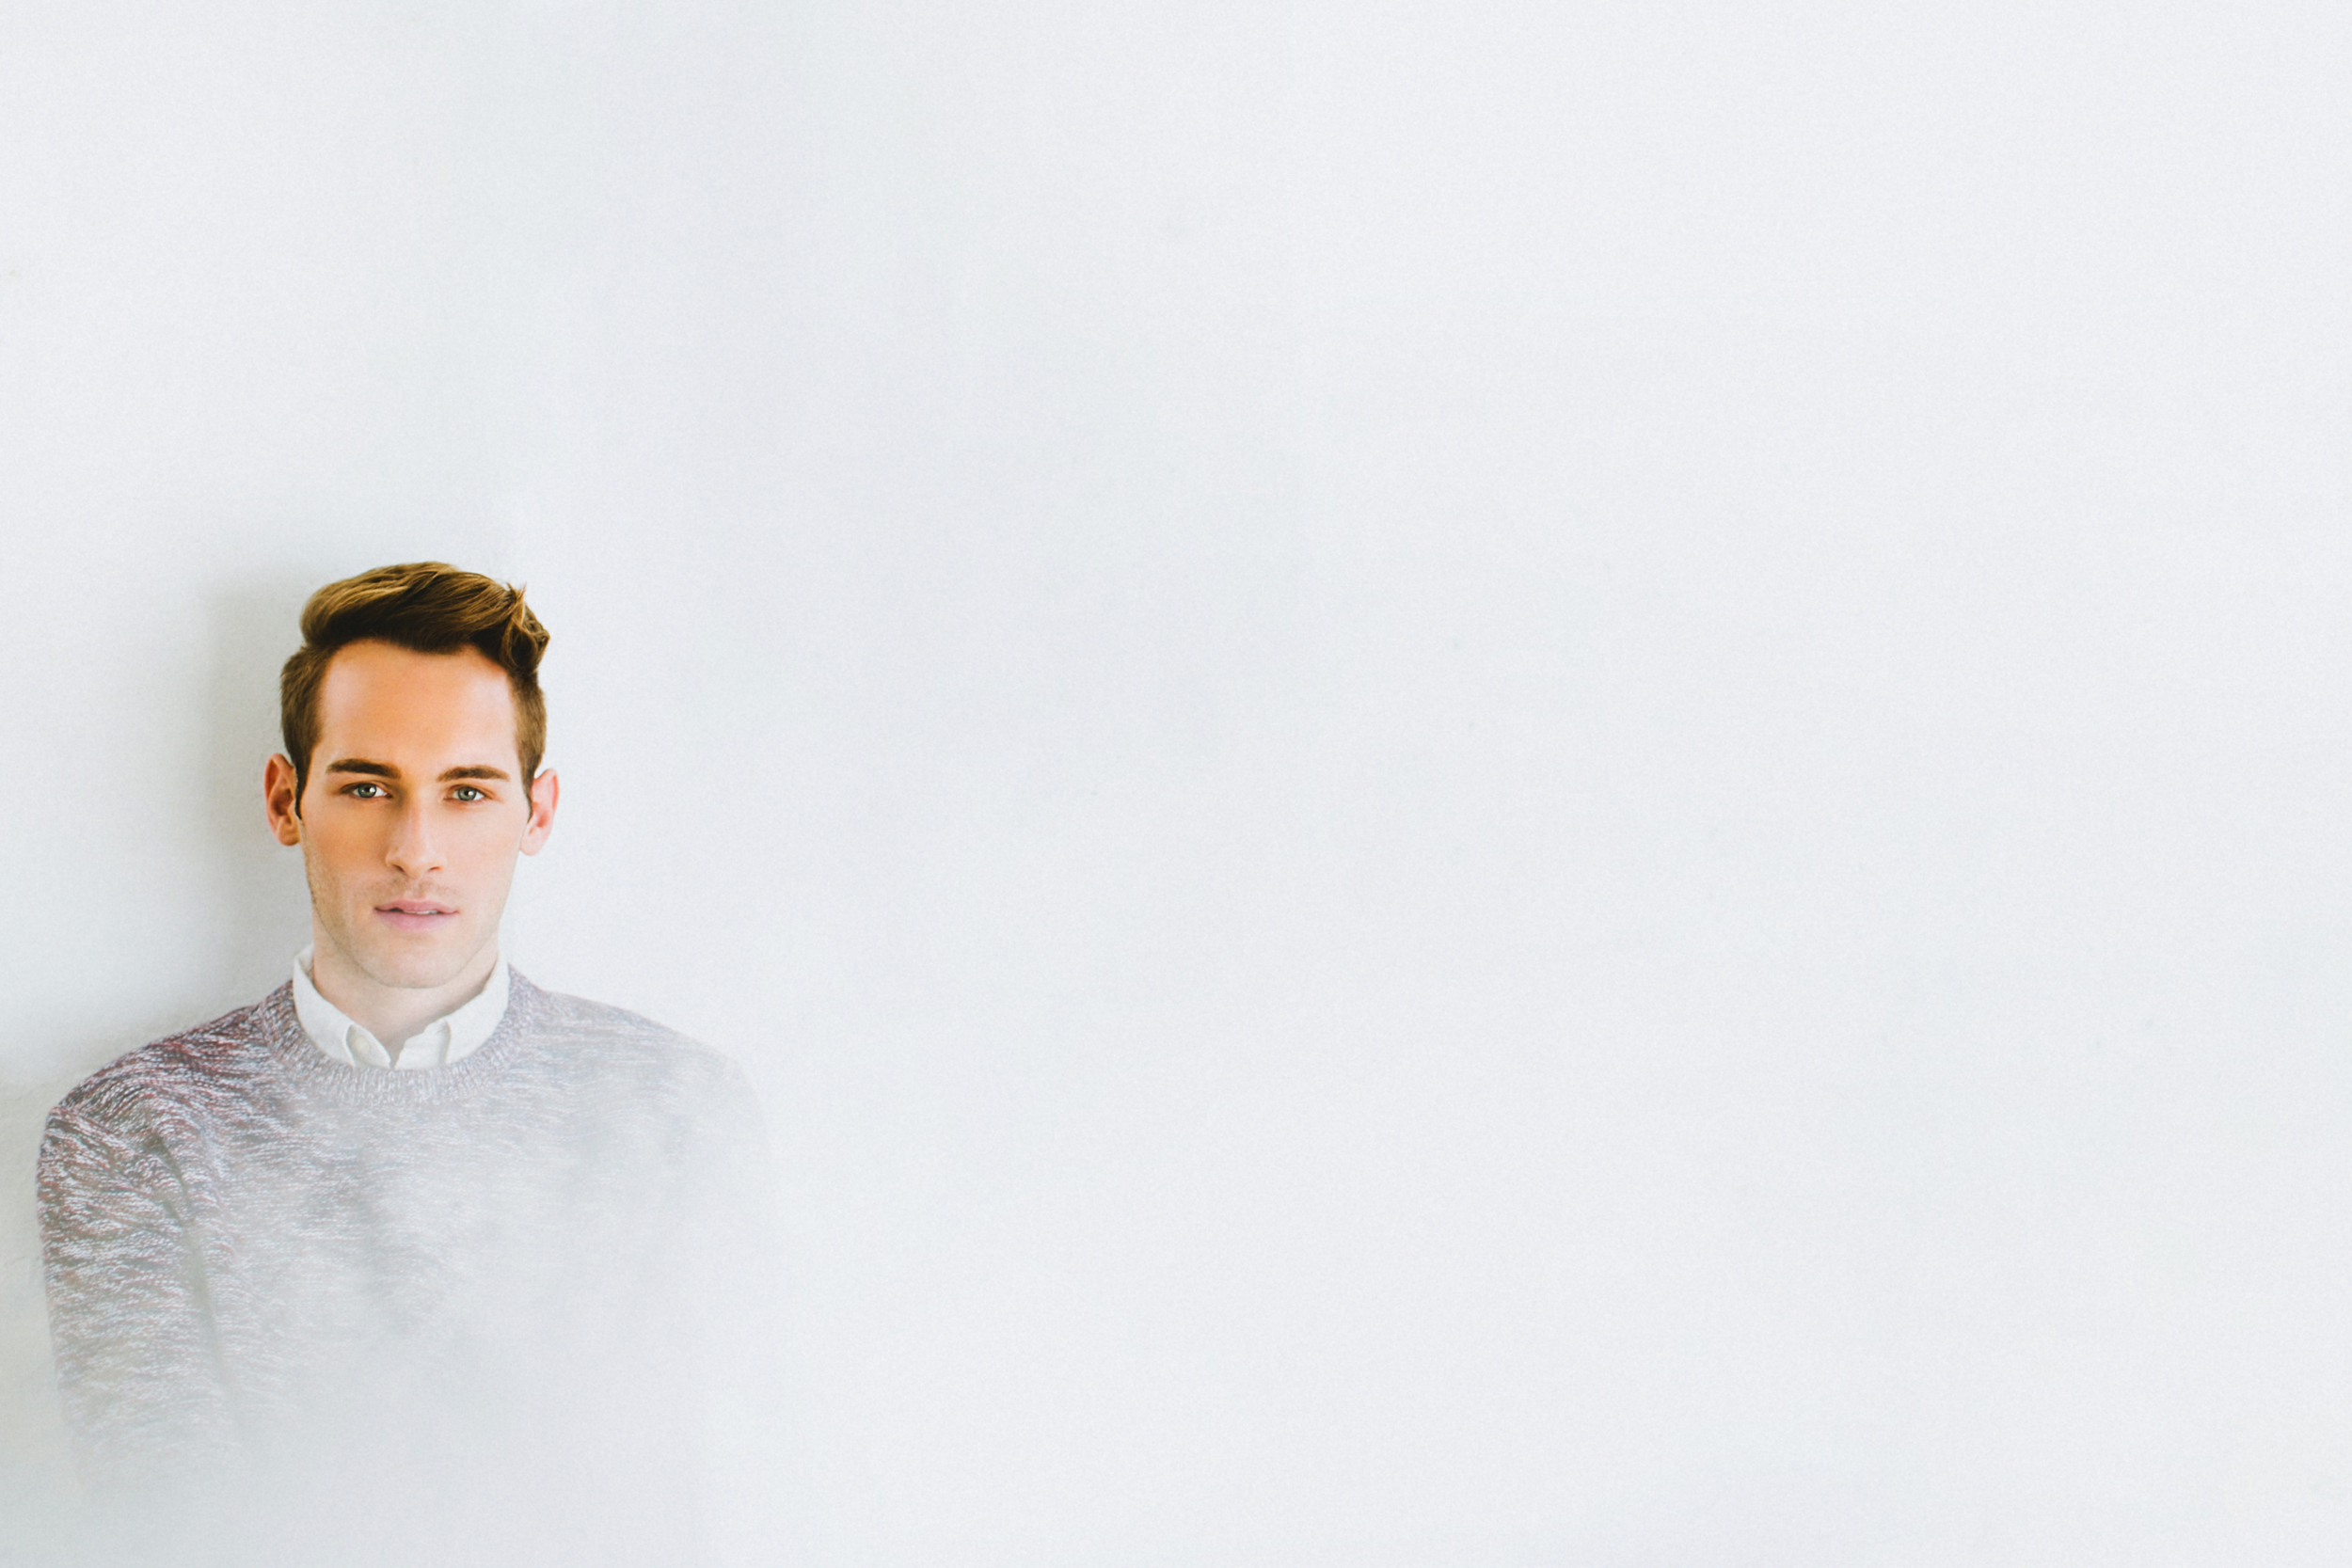
5D III + 35L
Hard light is ripe for separation. The harsh contrast between light and dark in scenes like this give you perfect opportunities to create images that your subject pops out of. In the frame above, I placed Alex in the light, in front of a dark background. Simple but a huge benefit to the frame.
MULTIPLE EXPOSURES
MULTIPLE EXPOSURES
MULTIPLE EXPOSURES
I love the weird stuff and I've been experimenting with things a ton lately! This trick is one of my recent experiments that I tried out and I LOVED the results from. There are a few different ways to do multiple exposures and this one is technically only one exposure although it gives you the multiple exposure look. If you haven't already, make sure that you read the "Long Exposure" tip before you go any further into this one. If you don't, I can assure you that this won't help at all.... Okay, you finished? Great! Now just like in that tip, you still have your shutter open for one second, your camera on a tripod, etc but instead of a single flash to freeze your subject in the frame you have two. Personally, I like to do this manually with a flash trigger. I take the shot, and while the shutter is open, I'll push the trigger twice so the flash freezes them twice. With some ambient light in the room, the glow will come out in between too. I know this all seems so technical and weird but I promise that experimenting with it is the quickest way to understand it! Easy peasy.


WRAP UP
WRAP UP
Whoa! You made it all the way through! I hope you found something you liked in here. If not just pretend it never happened.
If you're looking for more good things, feel free to check these out: